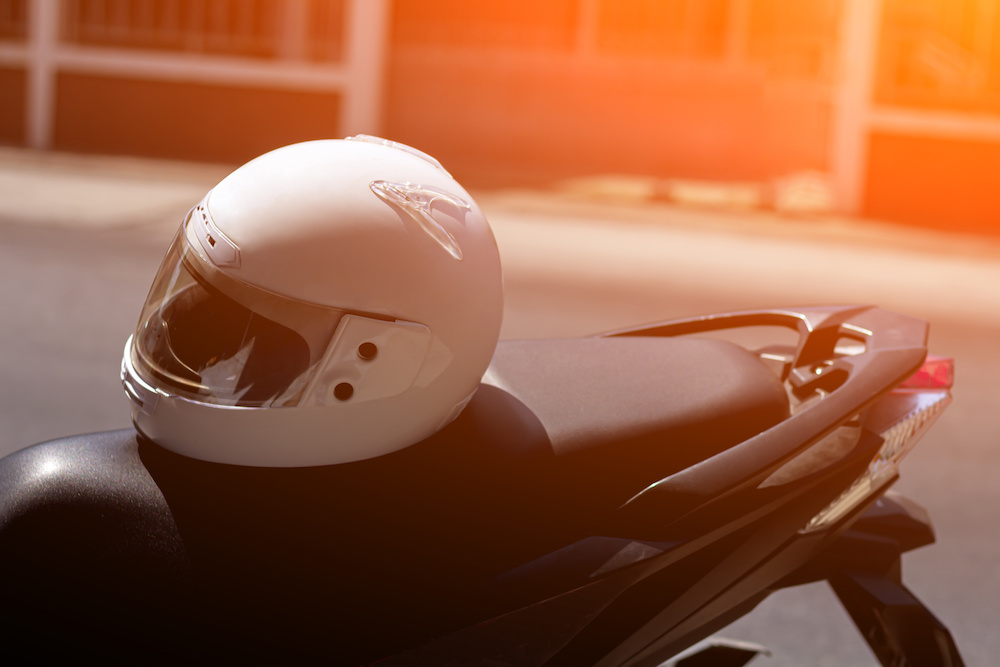
For most riding enthusiasts, few things are more annoying or disappointing than having a scratch on their shiny headgear.
If you consider yourself a motorhead, too, you should know how to repair a chipped motorcycle helmet.
This skill will come in handy if you bump your helmet on a door frame or scuff it against a wall.
In a few quick steps, you can make it look like it’s fresh out of the box.
That said, you must be extra careful if you drop your helmet. Chances are, its effectiveness might be reduced.
Before we discuss helmet repair, let us take a closer look at why and when you should replace your helmet.
Why You Should Replace a Damaged Motorcycle Helmet
Most helmets today disperse the energy of an impact by cracking in a web pattern instead of breaking when getting hit.
It is a safety feature of the shell and not a weakness. It is also a very good reason why you should be mindful about dropping your helmet.
The Helmet Shell
To illustrate, dropping your helmet is like tapping an egg against a hard surface.
You may not necessarily see it break. It is even possible that you won’t see any signs of damage.
However, the fibers making up the shell have already been compromised, and there is no way for you to tell by how much.
Nevertheless, if it gets hit on the same spot, there is a good chance that it will cave in.
This is what happens to your helmet if it gets hit enough times or with enough impact.
You might not see anything wrong with it, but you can be sure that it won’t be able to protect you in the same way.
Imagine getting into a mishap while you are wearing this helmet.
You won’t get enough protection for your head, which is the most vulnerable part of your body in these situations.
This could then lead to a serious injury on your part.
For this reason, most riders agree that you should replace your helmet if you drop it a few times.
If you chipped yours this way, it might be better to get a new one instead of attempting a repair.
The EPS Lining
Another thing you should look into is the interior of your helmet.
More often than not, it consists of a layer of crushable foam called an expanded polystyrene lining or EPS.
Inside this material are tiny plastic beads with air bubbles. Its thickness and density vary from one brand to another, but its function is the same.
The EPS lining reduces the force of an impact by collapsing upon contact and slowing the transmission of energy.
This way, your head and neck area won’t bear the brunt of it, reducing the risk of severe injuries.
The problem with the EPS lining is that it degrades or hardens over time.
The rate by which this process takes place depends on the rider. It could be faster if you use your helmet often or apply solvents and sprays on your hair.
Manufacturers and experienced riders believe that you should replace your helmet after five years because of this.
However, the story is different if you happen to fall while wearing the helmet.
The air bubbles get compressed, and once they do, they don’t spring back to their original shape.
When this happens, your EPS lining won’t be able to function as designed.
If you happen to fall again while riding, your helmet won’t be able to protect you anymore.
That is why if you get into an accident, you should always replace your helmet, even if it still looks good.
When Should You Replace Your Motorcycle Helmet?
We have discussed why you should replace your helmet. One question remains before we talk about how to repair a chipped motorcycle helmet.
When should you replace it?
One way to determine this is by looking at the surface of your EPS liner. Most brands paint it black to make cracks visible.
If you see a crack on your helmet’s interior, it is an obvious sign that you should get a new one.
However, sometimes, there is no way for you to know for sure if your helmet is still wearable after dropping it.
To help you decide, you must know at what height it fell.
If it is no higher than the seat of your motorcycle, then your helmet could still be safe for you to use.
It might not be at 100% anymore, but it should still provide you with ample protection.
If it fell from a higher point, or you just want to be 100% sure, start looking for a replacement.
You could also have your helmet checked by a professional. Today’s top brands offer this service.
They either do it themselves or have a qualified company do it for them.
If you send it to their facility, they can inspect it and find out if it is still road-worthy.
They will then send it back to you with a certificate of safety or failure, depending on its condition.
How To Repair a Chipped Motorcycle Helmet
If you are confident about the integrity of your helmet, then it should be ok for you to repair it.
To do this, we have outlined the steps for you below.
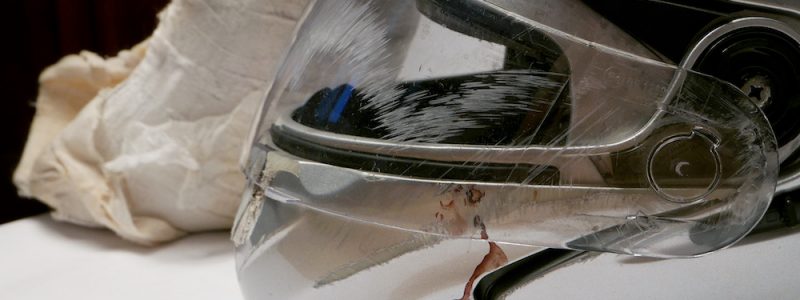
Step 1: Decide if It Is a Scratch or a Scuff
A scratch may look similar to a scuff, but the two are very different, especially in terms of repair methods.
So, before anything else, you must first determine if it is one or the other.
To do this, feel the chipped part of your helmet with your thumbnail. Make sure that you do this gently so that you do not make it worse.
If it is deep enough, your nail will make an audible clicking sound as it falls into the groove.
This means that you are dealing with a crack and must repair it accordingly.
If your nail makes a low, dull sound as you move it over the area, then it is a scuff.
Step 2: Repairing a Scuff
A scuff can be the result of your helmet brushing up against a painted wall.
It could happen while you are walking, sitting, or doing anything while you are close to one.
It could also happen in different ways, but in any case, paint from another surface rubs off on your helmet.
While it is a minor problem, it can still be annoying, especially if your helmet is brand new. The good news is that it is very easy to fix.
Try rubbing it gently with the pad of your finger or with a clean microfiber cloth. Doing this should remove the scuff if it is shallow enough.
You might need a mild cleaning agent if this does not do the trick. Make sure it is compatible with the material on your helmet’s surface.
Also, try a small amount first on an inconspicuous part of the helmet before proceeding.
Step 3: Repairing a Scratch
Attempting a DIY repair on a chipped motorcycle helmet can create a number of different results.
First of all, you do not have all the tools and materials that professionals use for this purpose.
Secondly, you probably do not have the same skill level.
Nevertheless, these repair options can help improve your helmet’s appearance and are worth trying:
Use a Permanent Marker
If you are hesitant about doing poor-quality work that could possibly make the chip more visible, try a permanent marker.
Wipe the helmet first and make sure that all cleaning agents are dry before using the marker.
If you do not like how it looks, you can just remove it using the same cleaning agent.
Cover It With a Sticker
If the chip on your helmet is in a good spot for a sticker, try using one.
Just make sure that you find a sticker of the appropriate size and that you like how it looks on the helmet.
Also, check that the adhesives on the sticker are compatible with the helmet’s material.
Use Touch-Up Paint
All of the options above do not require much skill, but they are not as durable as some people would want.
If you feel the same way, try using touch-up paint.
There are different options to choose from, including a touch-up pen, spray paint, or artist paintbrush.
Choose which one you are most comfortable using, and find a matching color.
Before proceeding, apply a very small amount to an inconspicuous area first. This will help you see if the colors match.
If they do, clean the area with a pre-paint wipe. Make sure that you do not use harsh solvents that could strip the existing paint and even damage the shell.
After you have prepped your helmet, start applying the touch-up paint.
Safety First
In the end, remember that your helmet’s primary function is road safety, not aesthetics.
Hence, when repairing a scratch or scuff, always make your safety your top priority.
Hopefully, the tips above can help you get the job done without sacrificing your helmet’s integrity.
We hope you find this information helpful. If you would like to support this site, you can by purchasing through recommended links on the page. Should you decide to purchase, we may earn a small percentage of the sale at no cost to you.
Thank you for your support.
Looking for a Replacement Helmet? Here’s a Recommendation
| Best Full-Face Motorcycle Helmet | Price | Rating |
|---|---|---|
| 5/5 rubber chickens | ||
| 4.8/5 rubber chickens | ||
Related posts: