Customizing riding gear, such as painting helmets or putting patches on a leather jacket, is common among riders of all levels.
It’s not always necessary to avail the services of a pro when personalizing these accessories. After all, most of the required tools and materials are easily accessible to anyone.
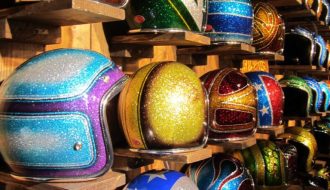
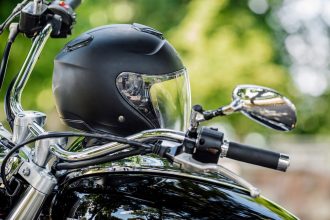
Want to transform a plain helmet into a custom-designed, eye-catching headgear?
Before thinking about patterns or colors, you must first learn how to prep a motorcycle helmet for painting.
Is It Okay To Paint Motorcycle Helmets?
Painting helmets may represent an idealistic sense of freedom of expression.
That said, you will quickly find out that not all designs are allowed because the new color and design should also comply with the current regulations.
Keep in mind that some laws have strict guidelines about the details of a helmet’s custom painting.
To better understand the restrictions, check out your local motorcycle helmet laws. If your design is all good, let’s learn about composition and painting.
Learn About Your Helmet First
The paint’s chemistry primarily determines the possibility of re-painting a motorcycle helmet.
To learn about the paint applied on a helmet, verify the material used on its outer shell first. Usually, this part comprises carbon fiber, fiberglass, plastic, or Kevlar.
As you may know, some solvents in paints are not compatible with the helmet material.
When you apply paint that contains non-compatible components, the structural integrity and appearance of the helmet may deteriorate.
Sometimes, there’s no indication about the material or paint in the paperwork you received when you bought your helmet.
If that’s the case, try reaching out to the manufacturer’s customer service.
Ask suggestions for paints to confirm if the ones you’re going to use will work without issues.
Also, it’s not advisable to paint a helmet if the outer shell is damaged.
Leakage and additional damage may occur if the paint solvent penetrates the area where the surface is compromised.
What Kind of Paint Do You Use on a Helmet?
Not all paints are suitable for motorcycle helmets. Some might damage the material and render it less resilient than before.
There are two recommended paints most people use on their helmets:
Water-Based Acrylic Paint
Acrylic paints are made up of pigment particles distributed in an acrylic polymer mixture.
By playing with blends and levels of paint, you may get a finish that resembles a watercolor texture or classic painting.
You may experiment with different combinations by employing various techniques to get an eye-catching result.
In regards to safety, acrylic paint products usually indicate their composition via labels.
These paints only become somewhat hazardous when applied using an airbrush or ground into tiny pieces.
Usually, harmful components include lead, manganese, cadmium, cobalt, and chromium.
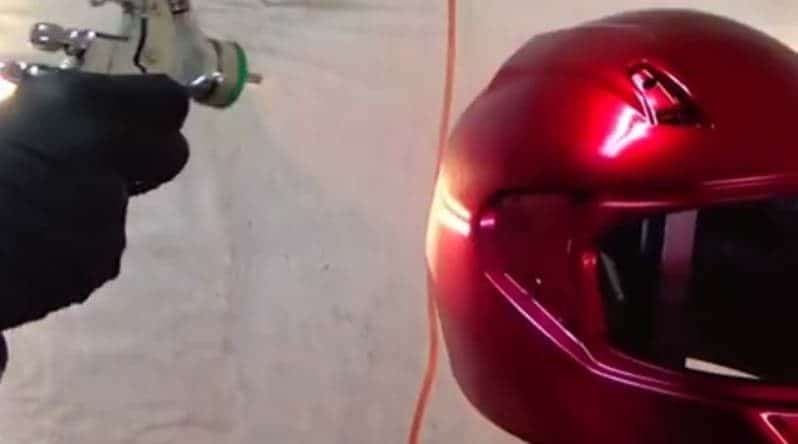
Spray Paint
Also known as aerosol paints, they are the best option if you want an exceptionally smooth paint finish on your helmet’s surface.
Acrylic paints typically need a brush, which can be challenging to use if you want to produce a flawless finish.
Spray paints are extremely quick to apply, and their coverage can make quick work of covering the surface of a helmet.
These products are a paint solution kept in a pressurized canister and emitted via a valve. Once pressed, the can releases a combination of paint and propellant.
By holding the nozzle down, a thin, even mist is produced and instantly applied to a specific surface, like the outer shell of a helmet.
How To Prep a Motorcycle Helmet for Painting
If you’re confident that your helmet can accommodate a fresh layer of paint, here’s how to prepare it for painting.
Step 1: Choose Your Work Area
Like with any other DIY project, we recommend working in an area where there’s ample lighting.
Since you’re dealing with paints, having a well-lit room or area will make the tasks easier.
There should also be little to no wind, as it might cause inaccuracies when applying the paint.
Dust and debris in the work area are also a no-no, as they can easily attach to the paint and the helmet.
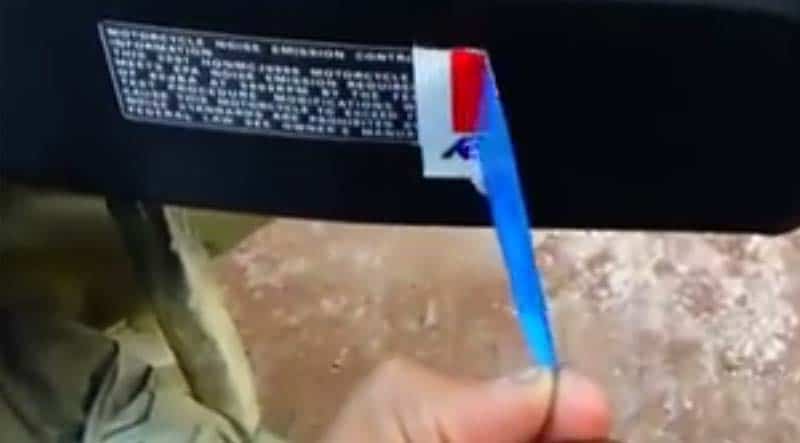
Step 2: Remove the Components
All the attached parts such as hinges, visor, pads, beadings, and stickers require removal.
In other words, there shouldn’t be any parts on the helmet besides the outer shell.
To avoid painting these parts, keep them away in a separate room or secure them in a drawer.
Whatever you decide to do, ensure that there’s no possibility that paint will reach them.
Get rid of the old adhesives using a sandpaper material capable of removing these residues.
Step 3: Clean the Helmet’s Surface
Cleaning your motorcycle helmet of foreign objects is another necessary step.
The paint will not entirely stick to the outer shell unless it is free from such materials.
Fortunately, it’s possible to accomplish this step with regular household items.
Make a solution out of dishwashing liquid and warm water. Then, dip a clean, dry cloth into the solution and scrub the helmet meticulously.
Once you’re confident that you have cleaned all the spots, use another clean, dry cloth to wipe any residuals.
Wear gloves while cleaning to minimize grease on your fingers that could accidentally stick on the helmet’s surface.
After that, you could either let it dry at room temperature or use a blower to speed things up.
Before performing the next step, the helmet should be free of dirt, moisture, and soap residue.
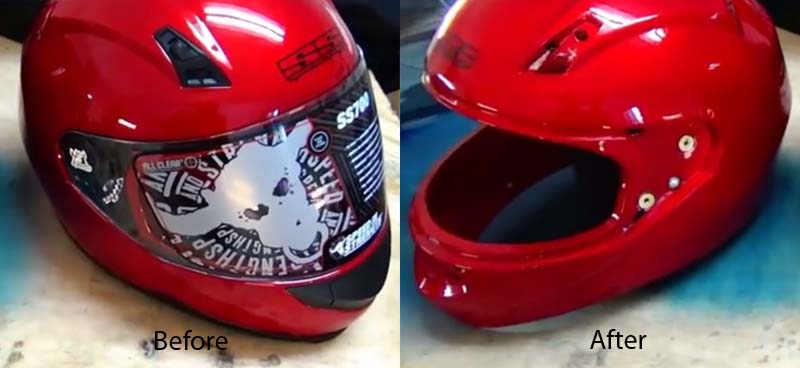
Step 4: Remove Existing Paint
If you’re painting a new helmet, pick a model that features a matte finish with black or white color.
This is because sanding paint off the helmet could mean unintentionally sanding off the exterior material.
When this happens, the outside shell of the helmet will be less capable of providing protection.
Multi-colored designs and glossy finishes are cumbersome to remove, which is why you must opt for dull, monochromatic helmets.
More often than not, black or white matte helmets allow new paint application without removing the existing layer.
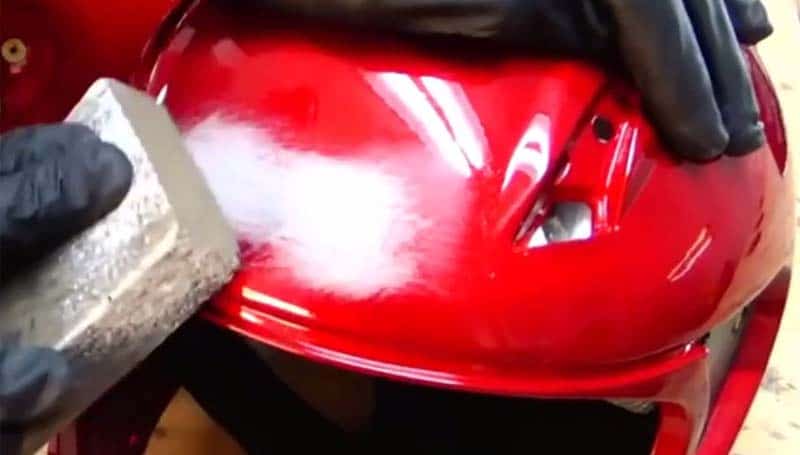
However, if you’re working with an old helmet, you have to be careful in removing its old paint.
To do this properly, use sandpaper with a grit of 400.
It would help to have a bowl of warm water ready too. Dampening the sandpaper is required before scraping off the paint.
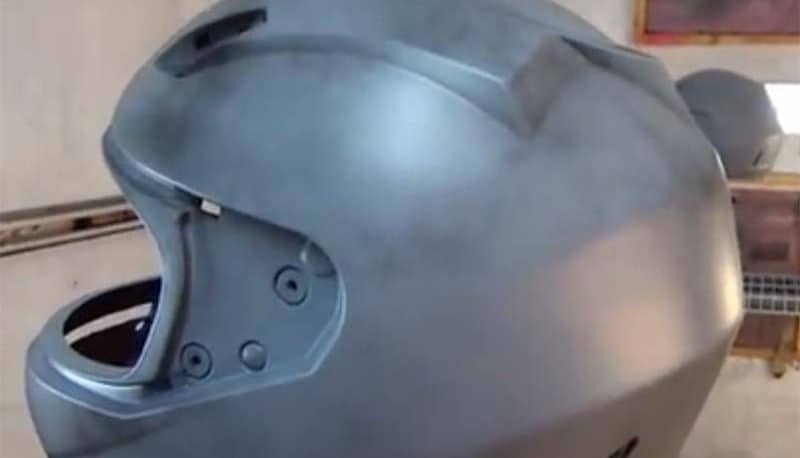
This step eliminates the gloss and paint, which provides a friendly surface for a new paint application.
After thoroughly sanding the whole helmet, it should have a completely dull look, devoid of any shine and color.
Use a damp cloth to remove any paint left clinging to the helmet.
Then, wait until fully dry before utilizing a tack tag to wipe off any dust that might have clung to the surface while you’re drying it.
Step 5: Masking the Helmet
If you were unable to detach the inner lining earlier, don’t worry, as masking it is a viable option.
Using masking tape effectively protects areas that the paint should not cover.
This step is crucial when learning how to prep a motorcycle helmet for painting because not all components are removable.
There is no need to purchase new items to do this; old newspapers or scrap paper are sufficient.
Crumple the paper, fill the helmet, and use the masking tape to lock the paper in place.
Then, cut the excess tape with a knife or box cutter. Also, seal all the holes on the inside of the helmet by using masking tape.
Step 6: Apply Primer
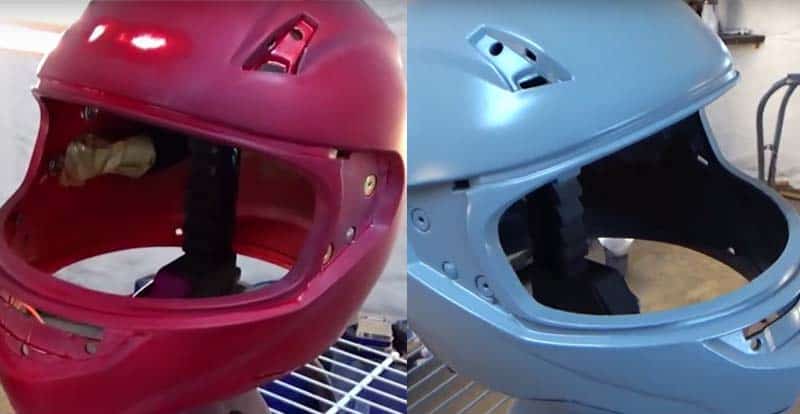
After masking, it’s time to use the primer on the helmet surface as an undercoating.
Many suggest that two or three layers of primer are needed to cover the surface thoroughly.
Once you’re satisfied with the undercoating, let it dry naturally. Under no circumstances should any painting happen while the primer is wet.
To ensure there’s no wet spot, allow the helmet to dry overnight once the primer is applied.
While doing this, ensure that the primer doesn’t come in contact with the masking tape.
It tends to absorb or suck up the spray paint, which could result in staining of the masked areas.
Step 7: Guide Coat
If the primer has completely dried, it’s advisable to apply a guide coat.
To make this step faster, use an aerosol can on the surface and give it some time to dry.
After the guide coat has dried fully, soak a block and 400-grit wet-and-dry sandpaper in warm water mixed with soap.
Sand the surface with these materials. Keep sanding until there’s no presence of the black color.
After sanding, clean the helmet and prepare your painting tools.
A Fun Weekend Project
Painting a motorcycle helmet is a rewarding yet easy project you can complete in one weekend, provided you follow the steps in preparing it.
Before painting your helmet, set aside everything you used for prepping to prevent stains and accidents.
Also, it’s important to keep yourself safe when using paint or primer, as some chemicals are harmful when inhaled or ingested.
Wear gloves, a mask, and goggles to ensure you are protected. The area where you paint your helmet should also be well-ventilated.
We hope you find this information helpful. If you would like to support this site, you can by purchasing through recommended links on the page. Should you decide to purchase, we may earn a small percentage of the sale at no cost to you.
Thank you for your support.
Looking for a Replacement Helmet? Here’s a Recommendation
| Best Full-Face Motorcycle Helmet | Price | Rating |
|---|---|---|
| 5/5 rubber chickens | ||
| 4.8/5 rubber chickens | ||
Related posts: